


Take the quiz and find out which RSF! products are right for your little one

RSF! Options
-
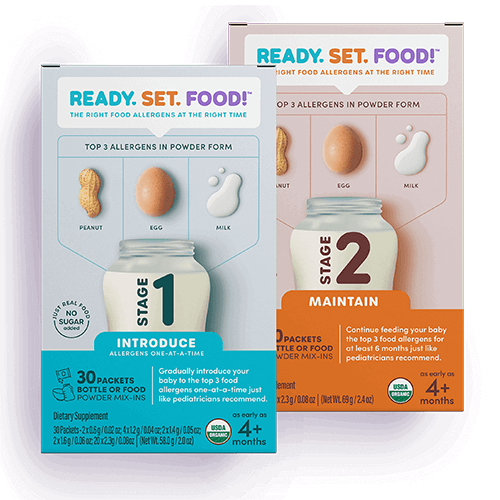
If you haven’t started solids or introduced peanut, egg or milk yet:

RECOMMENDED USE
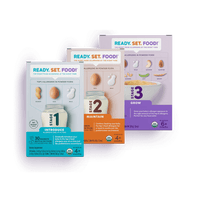
We recommend starting with Stage 1 Mix-ins to gradually introduce the top 3 allergens (peanut, egg and milk) one-at-a-time for the first 30 days then follow up with Stage 2 Mix-ins for at least 2 months to maintain the allergens in your little one’s diet.
-
If you haven't started solids but have already introduced peanut, egg and milk:

RECOMMENDED USE
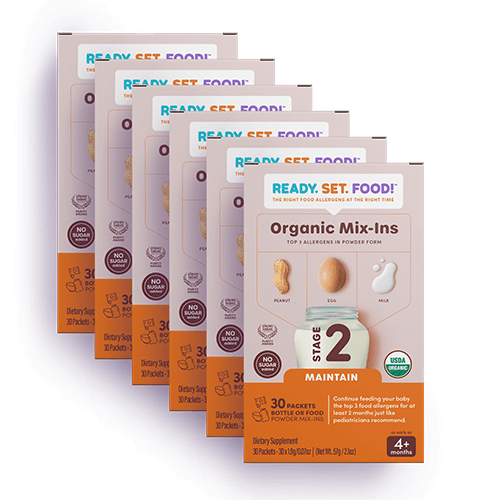
We recommend starting with Stage 2 Mix-ins and continuing for at least 2 months to maintain the top 3 allergens (peanut, egg and milk) in your little one’s diet.
-
If you’ve started solids but have not yet introduced peanut, egg or milk:

RECOMMENDED USE
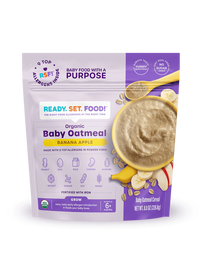
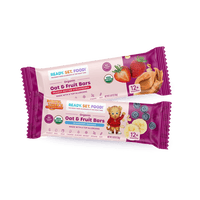
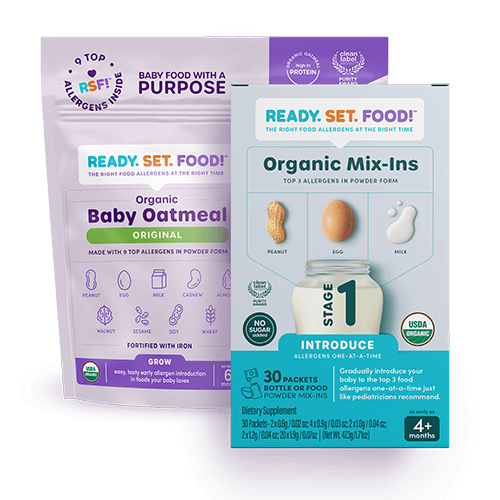
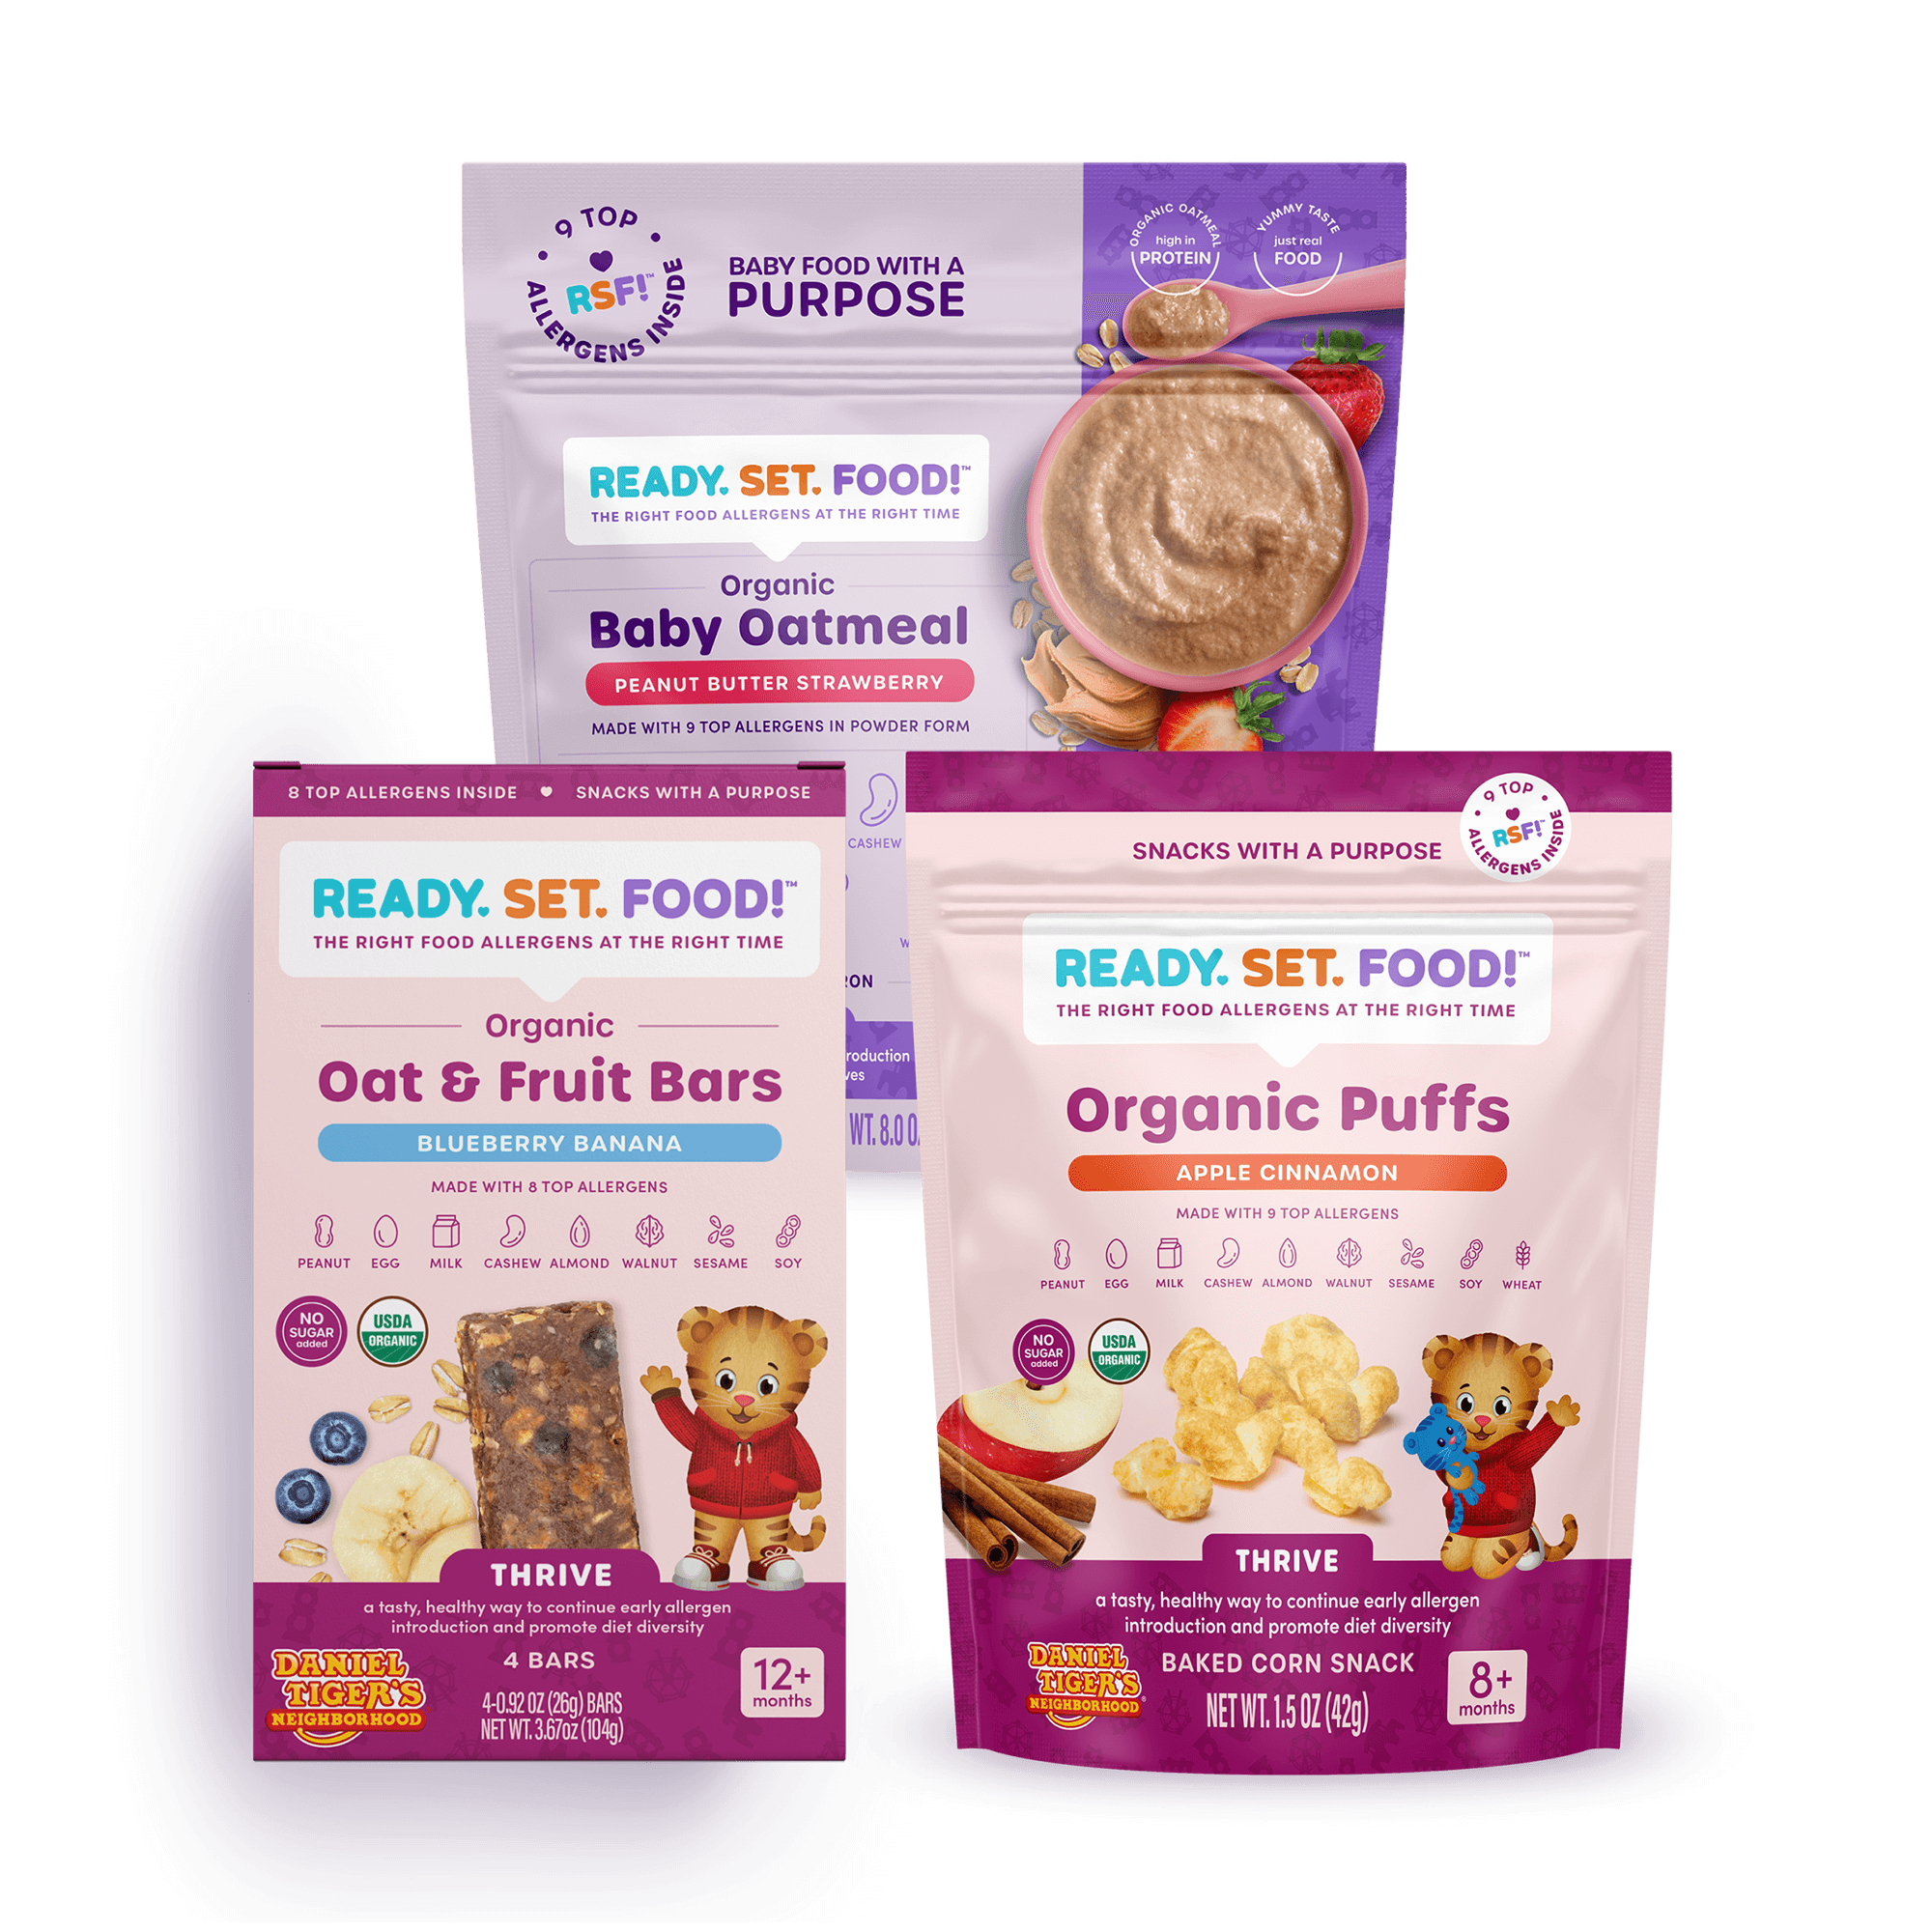
We recommend starting with Stage 1 Mix-ins to gradually introduce top 3 allergens (peanut, egg and milk) one-at-a-time for the first 30 days then follow up with Stage 3 Mix-ins/Organic Oatmeal to expand your little one’s exposure to 9 top allergens. Once your baby is ready to eat a variety of textures, you can introduce Organic Puffs and Organic Oat & Fruit Bars to help maintain these allergens and keep your little one’s diet diversified.
-
If you’ve started solids and introduced some allergens (like peanut, egg and milk) but baby is not yet able to chew through a variety of textures:

RECOMMENDED USE
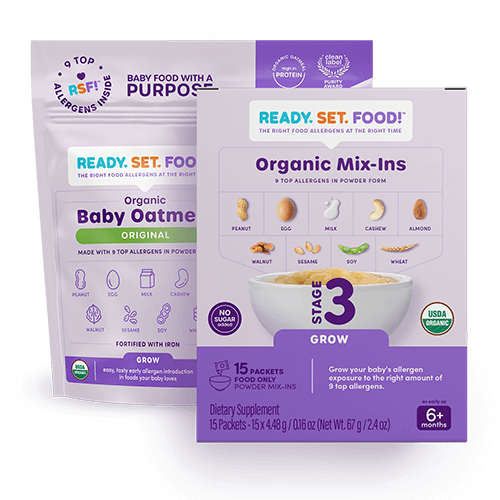
We recommend starting with Stage 3 Mix-ins and/or our Organic Baby Oatmeal. These will expand your baby’s exposure to 9 top allergens that can be mixed into any food they like or the oatmeal can be served as a yummy meal or snack.
-
If your baby is eating solids, chewing through a variety of textures and has already been introduced to peanut, egg and milk:
RECOMMENDED USE
We recommend starting with Stage 3 Mix-ins and/or our Organic Baby Oatmeal to expand their exposure to 9 top allergens. As your little one grows, you can offer our yummy Organic Puffs and Organic Oat & Fruit Bars to help maintain these allergens and keep your little one’s diet diversified.